
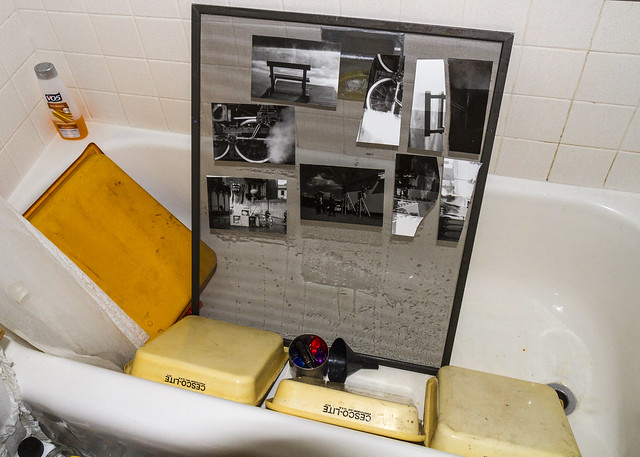
Yesterday I decided instead of braving the cold and taking advantage of the sun I would stay inside in the warm darkness of my bathroom. After spending a bit of time masking out my window better with some black duct tape I got the chemicals mixed up and prepared for my second attempt at printing at the new place. I made four prints overall with three of them turning out decent. While I always want to make something really good my main goal is familiarize myself with the process and simple techniques. Making larger prints with dodging and burning or split grade filtering can come later.
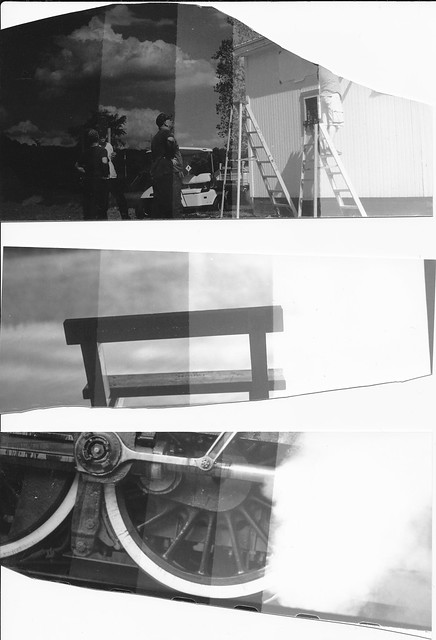
These are a few of the test strips I made to get my exposure length in the ballpark - they are in 5 second increments(the darkest being the longest). On the bottom photo I used the 20 second exposure to make a print from(second from left). To darken the blacks I switched from a #1 contrast filter to a #2.
 Here is the full print at 20 seconds.
 This a 15 second print with a #1 contrast filter. I would definitely bump up the contrast when printing this image again - check out my scanned and Photoshopped negative below...
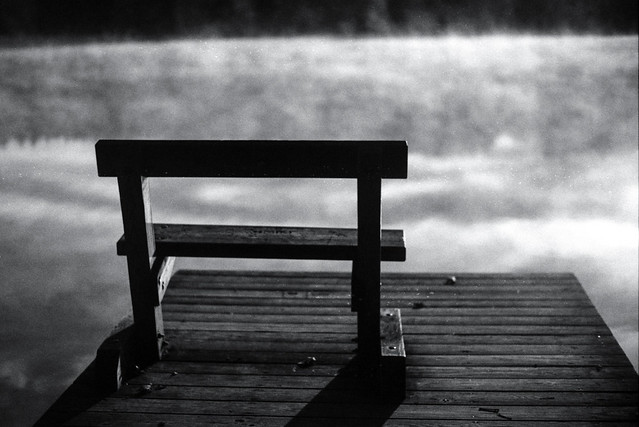 The good news is that most of my Photoshop techniques are ones that can be recreated in the darkroom - I just need to develop those skills. It kind of odd to almost be working backwards - I have the "final print" on the monitor and then go about trying to recreate it in the darkroom. No real need for proof sheets as all of my favorite negatives have already been scanned and edited.
 This is an image that I hope to make a nice large print of when I get a little better. The goal is to make the statue very contrasty - black blacks, white whites. Its one of my favorite shots - I took last March in Tivoli, Italy.
 I can already tell that getting average darkroom prints is not too challenging - but I don't want to make average prints for long...
1 comment:
Cool tub!!
Post a Comment